
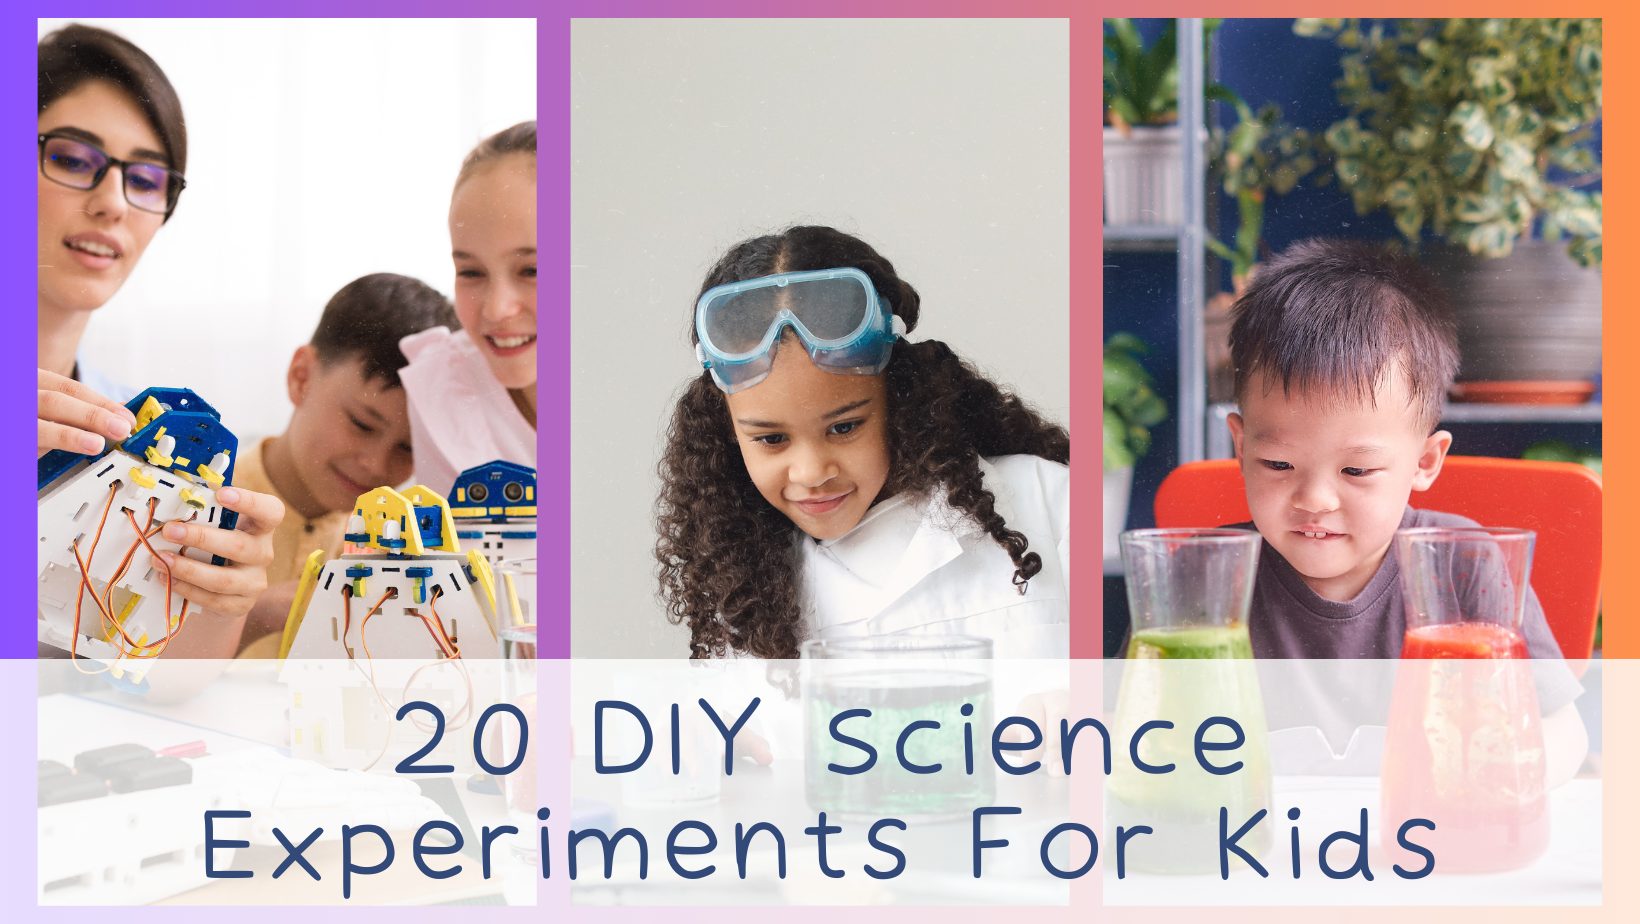
In the age of screens and smartphones, fostering a love for science in children can sometimes feel like a daunting task. Yet, amidst the ever-expanding digital landscape, there exists a realm of hands-on exploration and discovery that captivates young minds like nothing else: do-it-yourself (DIY) science experiments. These simple yet mesmerizing activities have the power to ignite a spark of curiosity, turning the mundane into the extraordinary, and transforming a child’s perception of the world around them. Embark on a journey through the realm of DIY science experiments for kids.
Table of Contents [CLICK HERE TO OPEN]
DIY Science Experiments for Kids
1. DIY Rainbow in a Jar
Create a colorful rainbow in a jar using simple household ingredients like sugar, water, and food coloring. Layer the colored liquids carefully in a clear container to observe the principles of density and fluid dynamics.
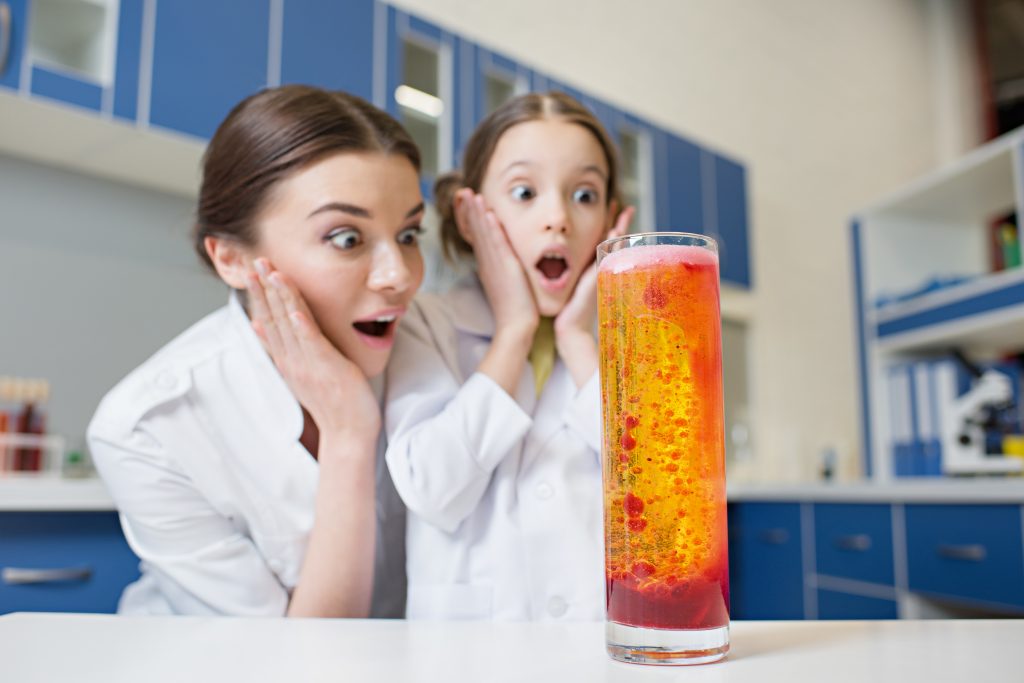
2. Bubbling Lava Lamp
Construct a mesmerizing lava lamp using a plastic bottle, water, vegetable oil, and effervescent tablets. Witness the captivating motion of bubbles as they rise and fall, demonstrating the interaction between oil, water, and gas.
Materials Needed:
- Clear plastic bottle
- Water
- Vegetable oil
- Food coloring
- Effervescent tablets (such as Alka-Seltzer)
Steps:
- Fill the plastic bottle about one-third full with water.
- Pour vegetable oil into the bottle until it almost reaches the top, leaving some space for bubbling.
- Add a few drops of food coloring to the bottle. Choose colors that will stand out against the oil, such as red, yellow, or green.
- Break an effervescent tablet into smaller pieces.
- Drop the tablet pieces into the bottle and watch as bubbles start to rise through the oil, creating a lava lamp-like effect.
- To restart the bubbling action, simply add more tablet pieces as needed.
3. DIY Solar Oven
Build a solar oven using a cardboard box, aluminum foil, and plastic wrap. Harness the power of sunlight to cook delicious treats like s’mores or melted cheese sandwiches, while learning about solar energy and heat transfer.
4. Magic Milk Experiment
Explore the wonders of surface tension and chemical reactions with the magic milk experiment. Add drops of food coloring to a plate of milk, then observe the colorful patterns that emerge when dish soap is introduced, creating a stunning display of swirling colors.
5. Egg Drop Challenge
Take on the egg drop challenge by designing and building a protective contraption to prevent a raw egg from cracking when dropped from various heights. Experiment with different materials and designs to understand the principles of force, momentum, and impact.
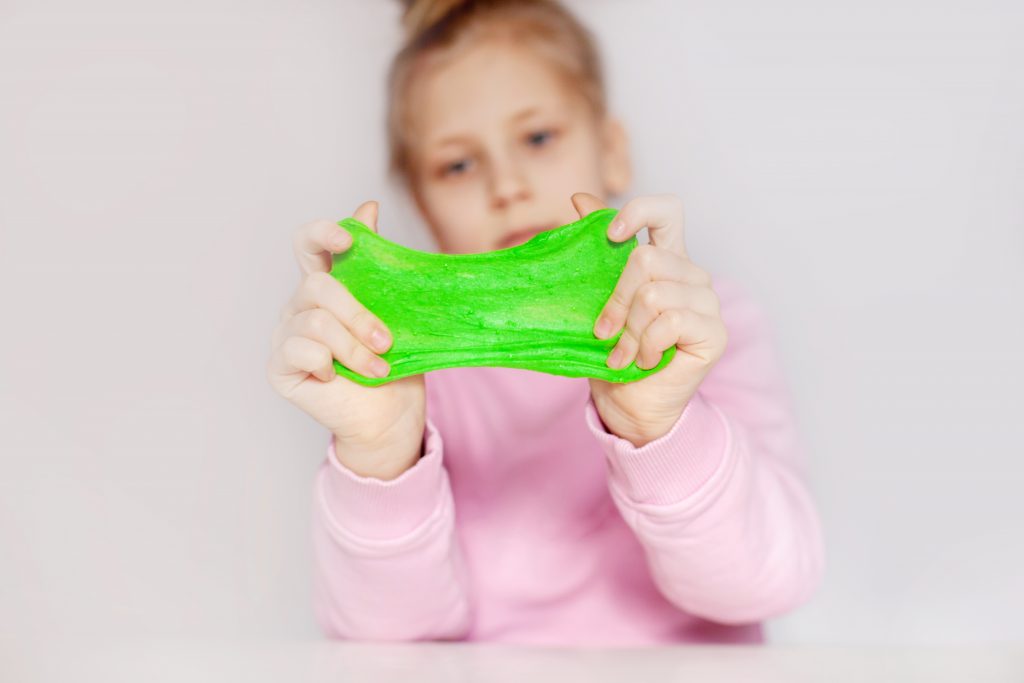
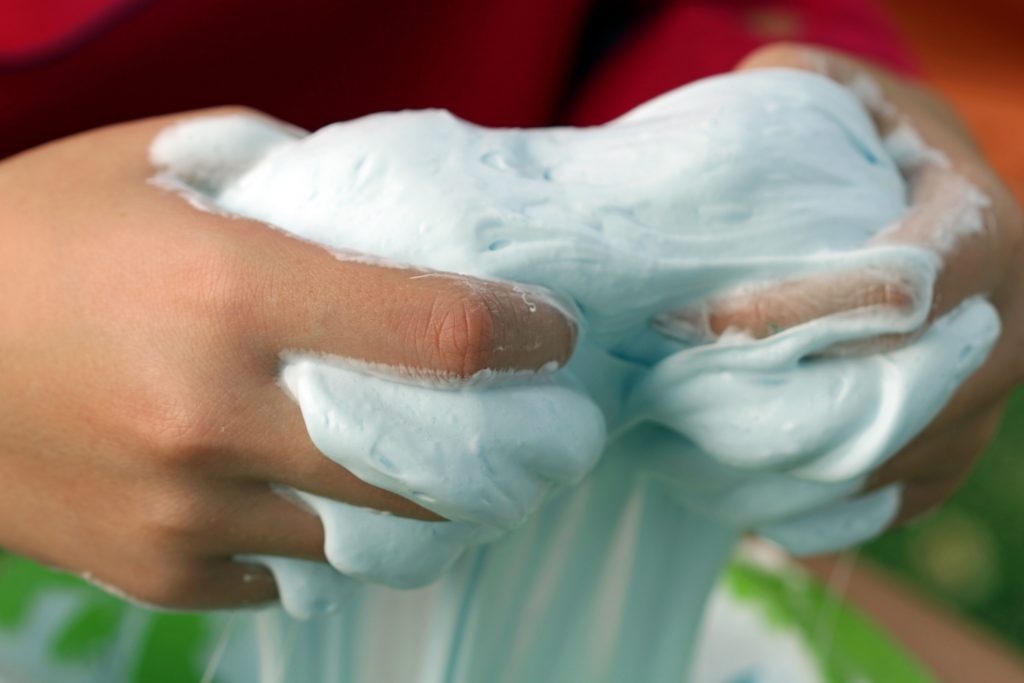
6. Homemade Slime
Mix together household ingredients like glue, borax, and water to create gooey and colorful homemade slime. Explore the properties of non-Newtonian fluids as you stretch, squeeze, and mold your slime into various shapes.
Materials Needed:
- White school glue
- Borax powder
- Water
- Food coloring (optional)
Steps:
- In a mixing bowl, combine 1/2 cup of white school glue with 1/2 cup of water. Stir well.
- If desired, add a few drops of food coloring to the mixture and stir until the color is evenly distributed.
- In a separate container, mix 1 teaspoon of borax powder with 1 cup of water until the borax is completely dissolved.
- Slowly pour the borax solution into the glue mixture while stirring continuously.
- Keep stirring until the slime starts to come together and pull away from the sides of the bowl.
- Once the slime reaches the desired consistency, remove it from the bowl and knead it with your hands until smooth and stretchy.
7. Soda Bottle Fountain
Construct a mini soda bottle fountain using baking soda and vinegar to create a fizzy chemical reaction. Witness the rapid release of carbon dioxide gas as it propels the contents of the bottle upwards, demonstrating the principles of pressure and gas expansion.
8. DIY Kaleidoscope
Build a kaleidoscope using a cardboard tube, mirrors, and colorful beads or sequins. Explore the principles of reflection and symmetry as you create dazzling patterns and images with every twist and turn.
9. Ice Excavation
Freeze small toys or objects in blocks of ice, then challenge children to excavate them using salt, warm water, or toy tools. Explore the concepts of heat transfer and phase changes as you melt away the ice to reveal the hidden treasures within.
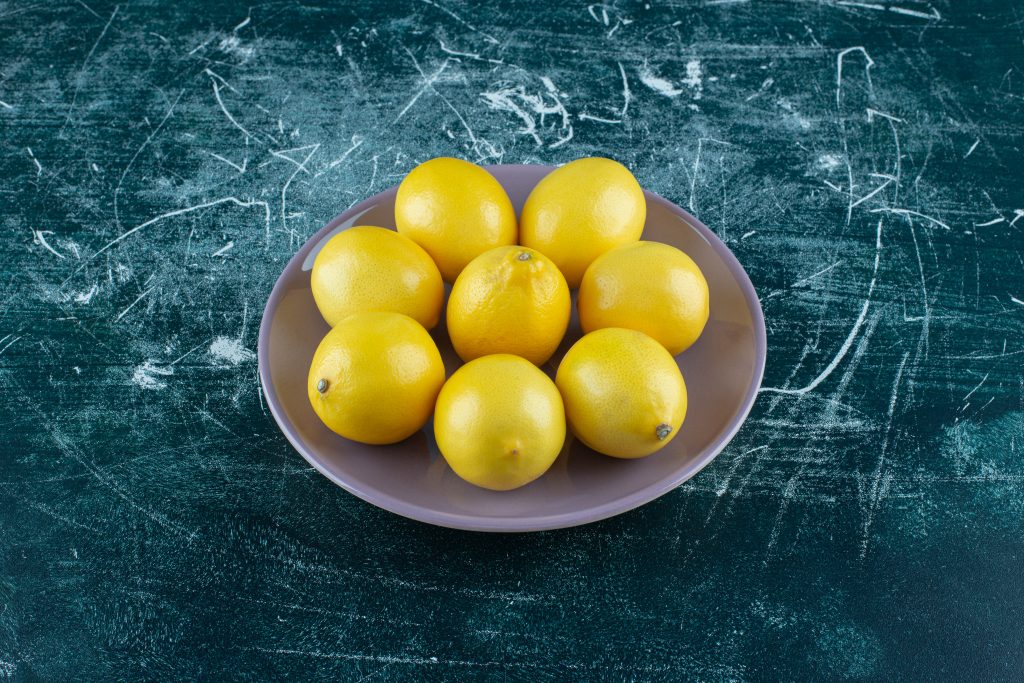
10. Lemon Battery
Harness the power of citrus fruits to create a simple lemon battery. Insert zinc and copper electrodes into a lemon to generate a small electric current, demonstrating the basics of electrochemistry and electrical circuits.
Materials Needed:
- Lemon
- Copper nail or coin
- Zinc nail or galvanized nail
- LED light bulb (optional)
- Alligator clips (optional)
Steps:
- Roll the lemon on a hard surface to soften it and make it easier to squeeze out juice.
- Use a knife to make small slits in the lemon peel, one near the top and one near the bottom.
- Insert a copper nail or coin into the top slit and a zinc nail or galvanized nail into the bottom slit.
- If using an LED light bulb, attach one end to the copper nail and the other end to the zinc nail using alligator clips.
- The lemon battery should produce enough electricity to power the LED light bulb, demonstrating the conversion of chemical energy into electrical energy.
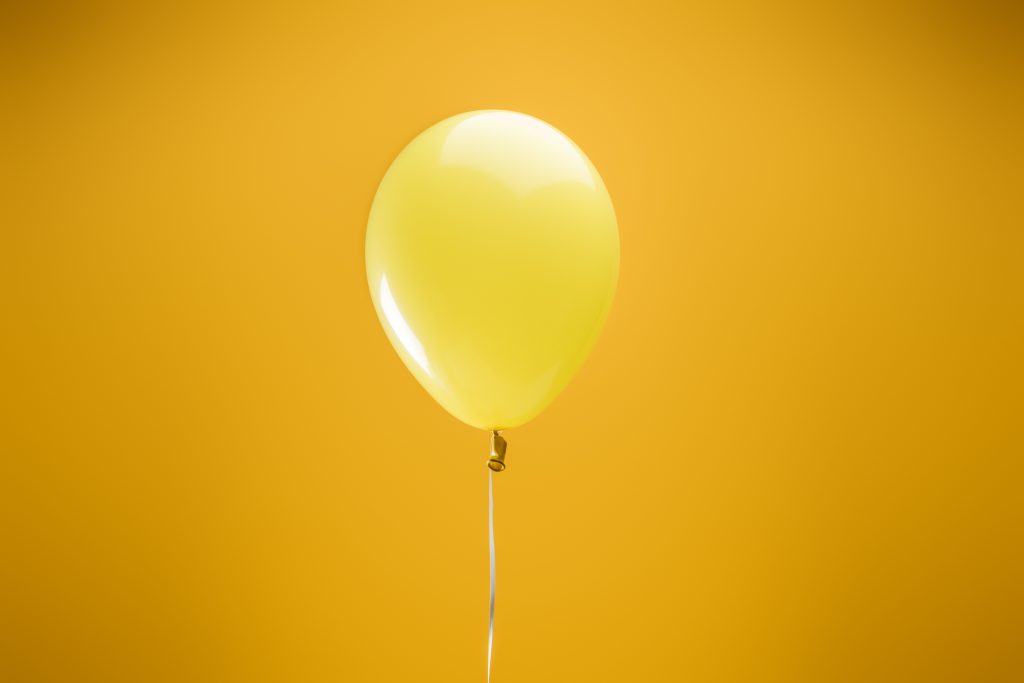
11. Balloon Rocket
Construct a balloon rocket using a straw, string, and a balloon. Inflate the balloon and release it to observe the propulsion force generated by escaping air, demonstrating Newton’s third law of motion.
12. Oobleck Exploration
Make oobleck by mixing cornstarch and water to create a non-Newtonian fluid with unique properties. Experiment with its behavior by applying pressure or gently tapping its surface, showcasing the concepts of viscosity and shear thickening.
Materials Needed:
- Cornstarch
- Water
- Mixing bowl
- Spoon or whisk
Steps:
- In a mixing bowl, combine 1 cup of water with 1 1/2 cup of cornstarch.
- Stir the mixture until it reaches a thick, gooey consistency.
- Experiment with the oobleck by pressing it firmly with your fingers and then releasing pressure. Notice how it behaves like a solid when pressure is applied, but flows like a liquid when pressure is released.
- Try rolling the oobleck into a ball and then letting it flatten out in your hand. Explore its unique properties and have fun experimenting with different shapes and textures.
13. DIY Seed Bombs
Create seed bombs by mixing clay, soil, and wildflower seeds into small balls. Launch them into outdoor spaces to promote biodiversity and learn about the life cycle of plants, from seed germination to flowering.
14. Cartesian Diver
Construct a Cartesian diver using a plastic pipette or eyedropper partially filled with water. Explore the principles of buoyancy and pressure as you manipulate the diver’s density to make it sink or float within a bottle of water.
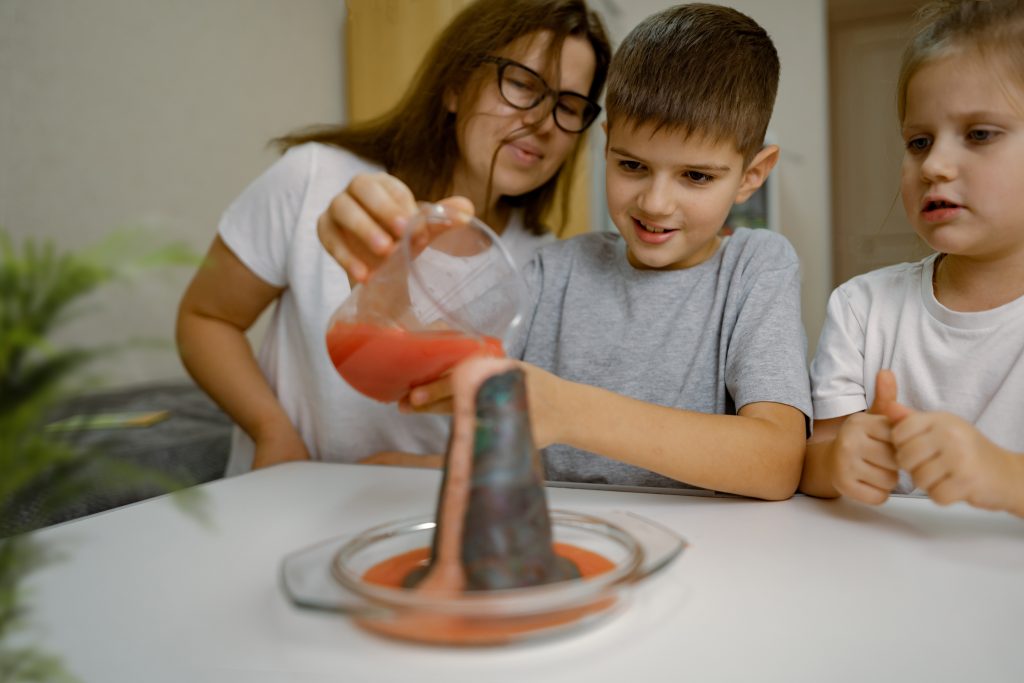
15. Vinegar and Baking Soda Volcano
Build a classic vinegar and baking soda volcano using a container, baking soda, vinegar, and optional food coloring. Witness an exciting eruption as the acid-base reaction produces carbon dioxide gas, simulating the eruption of a real volcano.
Materials Needed:
- Large plastic bottle or container
- Baking soda
- Vinegar
- Red food coloring (optional)
- Dish soap (optional)
- Modeling clay or playdough
- Tray or basin
Steps:
- Build a volcano shape using modeling clay or playdough around the opening of a large plastic bottle or container.
- Add about 1/2 cup of baking soda into the bottle. Optionally, mix the baking soda with a few drops of red food coloring for a lava-like effect.
- Pour vinegar into the bottle, causing a chemical reaction with the baking soda, resulting in a foamy eruption.
- For added effect, mix the vinegar with a small amount of dish soap to create more foam.
- Stand back and enjoy the eruption!
16. Invisible Ink
Experiment with invisible ink by writing secret messages using lemon juice, milk, or baking soda solution. Revealing the hidden messages requires heat, UV light, or chemical reactions, providing insight into the chemistry of oxidation and color change.
17. DIY Tornado in a Jar
Create a tornado in a jar by swirling water and dish soap inside a clear container. Spin the container rapidly to observe the formation of a vortex, mimicking the swirling motion of a real tornado and exploring the principles of fluid dynamics.
18. Static Electricity Butterfly
Generate static electricity by rubbing a balloon against fabric or hair, then use it to attract lightweight materials like tissue paper or confetti to create a static electricity butterfly. Explore the concepts of charge and attraction in this electrifying experiment.
Materials Needed:
- Balloon
- Lightweight materials (such as tissue paper, confetti, or small pieces of paper)
- Fabric or hair (for generating static electricity)
Steps:
- Begin by blowing up the balloon and tying it off to keep the air inside.
- Rub the balloon against a piece of fabric, such as a wool sweater or a piece of fleece, or against your hair. Rub the balloon vigorously for about 20-30 seconds to build up static electricity.
- Hold the statically charged balloon over a flat surface, such as a table or countertop.
- Gently sprinkle lightweight materials, such as tissue paper confetti or small pieces of paper, onto the surface below the balloon.
- Watch as the static electricity causes the lightweight materials to be attracted to the balloon, forming a butterfly-like shape.
- Experiment with different materials and colors to create a variety of static electricity butterflies.
- To further explore the concept of static electricity, try touching the balloon to various objects or surfaces to see how the static charge affects their behavior.
19. DIY Crystal Garden
Grow a crystal garden using common household materials like salt, sugar, or alum dissolved in hot water. Observe the gradual formation of crystals over several days, exploring the concepts of saturation, solubility, and crystallization.
20. Marshmallow Catapult
Build a marshmallow catapult using craft sticks, rubber bands, and a spoon. Experiment with different designs and launch angles to explore the principles of projectile motion and energy transfer, while having fun with tasty projectiles!
Frequently Asked Questions
What is an easy science experiment for kids?
An easy science experiment for kids is creating a vinegar and baking soda volcano. It involves building a volcano shape using clay around a plastic bottle, adding baking soda inside, and then pouring vinegar into the bottle to trigger a foamy eruption, mimicking a volcanic explosion.
How do you make a simple experiment at home?
To make a simple experiment at home, gather basic household materials like water, vinegar, baking soda, and food coloring. Choose an experiment such as a vinegar and baking soda volcano or a magic milk experiment. Follow easy step-by-step instructions using these materials to conduct the experiment safely at home.
How do you make a magic milk experiment?
To make a magic milk experiment, pour a shallow layer of milk into a dish and add drops of food coloring on the surface. Then, dip a cotton swab or toothpick into dish soap and gently touch the surface of the milk. Watch as the colors scatter and swirl due to the reaction between the soap molecules and the fat molecules in the milk, creating mesmerizing patterns.
How do you make a liquid rainbow in a jar?
To make a liquid rainbow in a jar, you’ll need a clear jar or glass, corn syrup, water, dish soap, vegetable oil, rubbing alcohol, and food coloring in various colors. Carefully layer each liquid in the jar, starting with corn syrup at the bottom and ending with rubbing alcohol at the top. Add a drop of food coloring to each layer to create the rainbow effect. The different densities of the liquids will cause them to stack neatly, forming distinct layers of colors resembling a rainbow.
As we conclude our journey through the world of DIY science experiments for kids, we hope you’ve been inspired to embark on your own adventures in exploration and discovery. From the bubbling excitement of a vinegar and baking soda volcano to the enchanting swirls of a magic milk experiment, each activity has offered a glimpse into the wonders of the scientific world.


